
You know that feeling when you walk into a beautifully designed hotel bathroom and wish your own space could capture even half that elegance? The truth is, luxury in bathroom design isn’t about spending the most money—it’s about spending it in the right places.
High-end doesn’t mean high-cost when you understand which upgrades create the biggest visual and functional impact. This guide breaks down exactly where to invest, what to skip, and how to layer affordable materials and smart design choices into a bathroom that looks and feels like it cost twice what you actually spent.
Table of Contents
Which Bathroom Upgrader Are You?
The Strategic Refresher
Your bathroom works fine structurally, but it screams 2008. You want to modernize the look without ripping everything out. You’re ready to upgrade fixtures, surfaces, and finishes while keeping plumbing and layout intact.
The Targeted Investor
You have a clear budget and want maximum luxury impact from every dollar. You’re willing to mix price points—splurging where it matters, saving where it doesn’t. You care about the experience and the look equally.
The Full Transformer
You’re doing a complete remodel and want a luxury result without the luxury price tag. You’re open to smart material substitutions and strategic design choices that deliver the high-end aesthetic you’re imagining.
What Actually Makes a Bathroom Look Expensive
Before diving into specific upgrades, understanding the visual and tactile elements that signal “luxury” helps you make strategic choices. High-end bathrooms share specific characteristics that have nothing to do with total spend and everything to do with intentional design.

Clean Lines and Visual Simplicity
Luxury spaces minimize visual clutter. Floating vanities, frameless shower enclosures, large-format tiles, and wall-mounted fixtures all create clean sight lines. Hidden plumbing, recessed storage, and streamlined hardware eliminate the busy, crowded feeling that makes bathrooms feel cheap.
This doesn’t require expensive materials—it requires thoughtful layout choices and modern fixture profiles. A $400 floating vanity with hidden storage reads as more luxurious than a $1,200 traditional vanity with exposed legs and surface clutter.
Quality Over Quantity in Materials
High-end bathrooms use premium materials sparingly rather than average materials everywhere. One marble accent wall delivers more luxury impact than mediocre tile covering every surface. A single statement light fixture outperforms five cheap ones.
This principle guides budget allocation—invest in hero moments (the shower wall, the vanity top, the statement mirror) while using quality-but-affordable materials for supporting surfaces. The eye registers the standout elements and perceives the entire space as elevated.
Pro Insight: Hotel bathrooms feel luxurious because designers focus budgets on surfaces you touch and see most—vanity countertop, shower tile at eye level, faucets, and lighting. Everything else is purposefully simple and understated. This same strategy works in residential remodels.
Lighting That Layers and Flatters
Builder-grade bathrooms have one overhead light. Luxury bathrooms have three to five light sources working together. Sconces flanking the mirror eliminate shadows on faces. Recessed lighting in the shower creates ambiance. Under-cabinet lighting adds depth. Dimmable fixtures allow mood control.
Good lighting transforms how every material in the room looks and feels. Even basic white subway tile looks elevated under properly layered lighting. This is one of the highest-return investments in any bathroom upgrade because it affects the perception of everything else in the space.
Consistent Finish and Color Palette
Luxury reads as cohesive. Every metal finish in the room matches—faucet, shower fixtures, cabinet hardware, towel bars, light fixtures. The color palette stays intentionally limited, typically two to three colors maximum including white.
Mismatched finishes (chrome faucet, brushed nickel hardware, oil-rubbed bronze towel bar) instantly cheapen a space regardless of individual product quality. Committing to one finish throughout creates visual harmony that feels intentional and designed. This costs nothing extra but requires upfront planning.
High-Impact Upgrades That Deliver Luxury
Certain upgrades punch far above their price point in perceived value. These are the changes that make visitors ask “who did your remodel?” and assume you spent more than you did.
Frameless Glass Shower Enclosure
Cost difference from framed: $600–$1,200
Removes visual barriers, makes the bathroom feel larger, and showcases tile work. Single biggest upgrade for modern luxury feel. The frameless look is unmistakably contemporary and elevates even basic tile choices.
Floating Vanity
Cost difference from traditional: $300–$800
Creates visual lightness, makes cleaning easier, and looks intentionally designed. Wall-mounting opens floor space and allows for dramatic lighting underneath. Works in any style from minimalist to transitional.
Large-Format Tile
Cost per square foot: Often comparable to standard tile
Fewer grout lines equal cleaner, more seamless appearance. 12×24 or larger formats make small bathrooms feel bigger and create the custom-installed look of natural stone slabs. Installation costs slightly more but material costs often similar.
Statement Lighting
Investment range: $400–$1,000 total
Sconces with architectural interest, a unique pendant, or dramatic vanity lighting becomes the jewelry of the space. Combines function with visual impact. Quality fixtures at this price point rival designer options at three times the cost.
Freestanding Tub
Cost range: $800–$2,500
Creates instant spa aesthetic and becomes the room’s focal point. Acrylic options at under $1,500 look identical to $5,000+ cast iron versions. Floor-mounted tub filler adds drama for $300–$600 more than wall-mounted options.
Built-In Storage Niches
Cost per niche: $150–$400 installed
Eliminates shower caddies and surface clutter while creating architectural detail. Recessed niches with finished tile surrounds look custom and intentional. LED lighting strips inside add luxury for $30–$60 per niche.
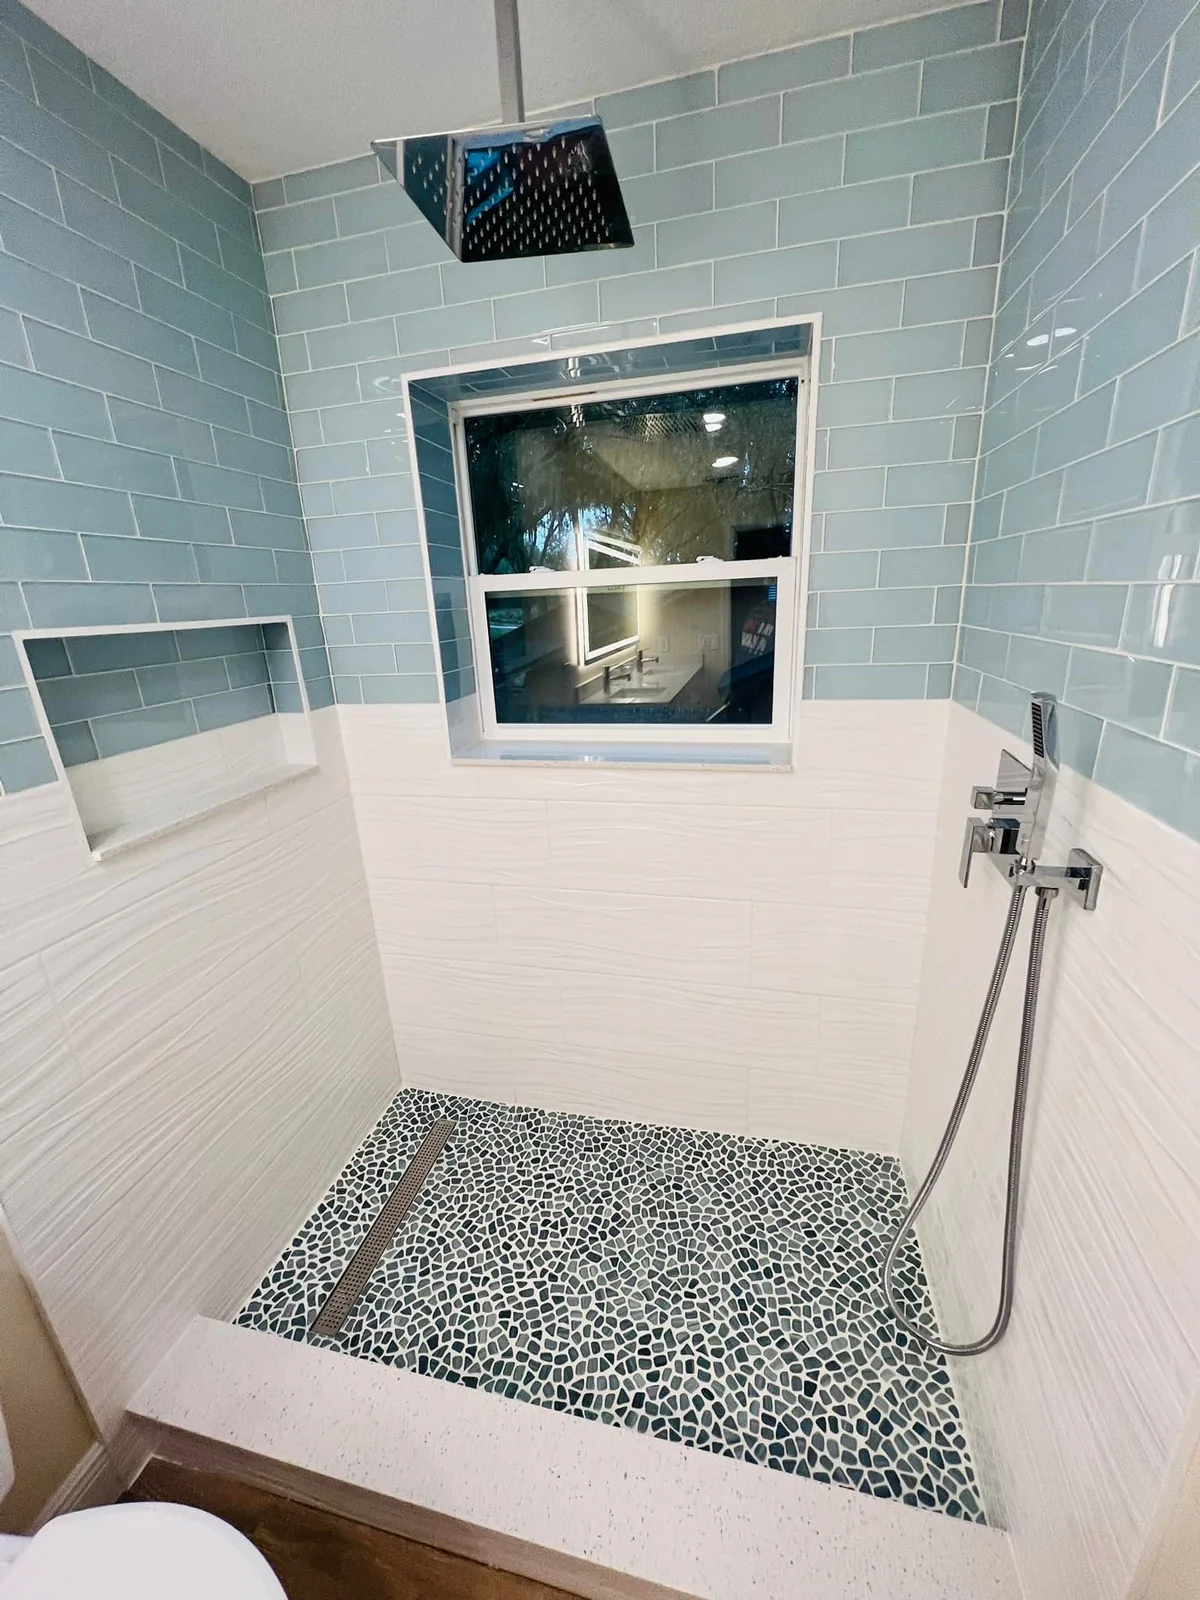
Fixtures Worth the Investment
You interact with fixtures multiple times daily—they’re the tactile experience of your bathroom. Quality fixtures in mid-range price points now rival luxury brands from a decade ago in both function and finish durability.
A $300–$500 faucet feels substantially better than a $100 option—smoother operation, solid weight, better finishes that resist spotting. The same principle applies to shower valves, hand showers, and tub fillers. Brands like Delta, Kohler, and Moen offer excellent mid-tier collections that compete with premium brands aesthetically while delivering reliable performance.
Budget Tip: Choose fixtures from the same collection across all applications—vanity faucet, shower trim, tub filler, towel bars. Collections ensure perfect finish matching and often offer bundle discounts. This creates visual cohesion that looks professionally designed rather than pieced together over time.
Where to Splurge vs. Where to Save
Strategic budget allocation separates bathrooms that look expensive from those that cost expensive. The goal isn’t uniformly mid-range materials—it’s mixing price points intentionally so the splurges get noticed and the savings go undetected.
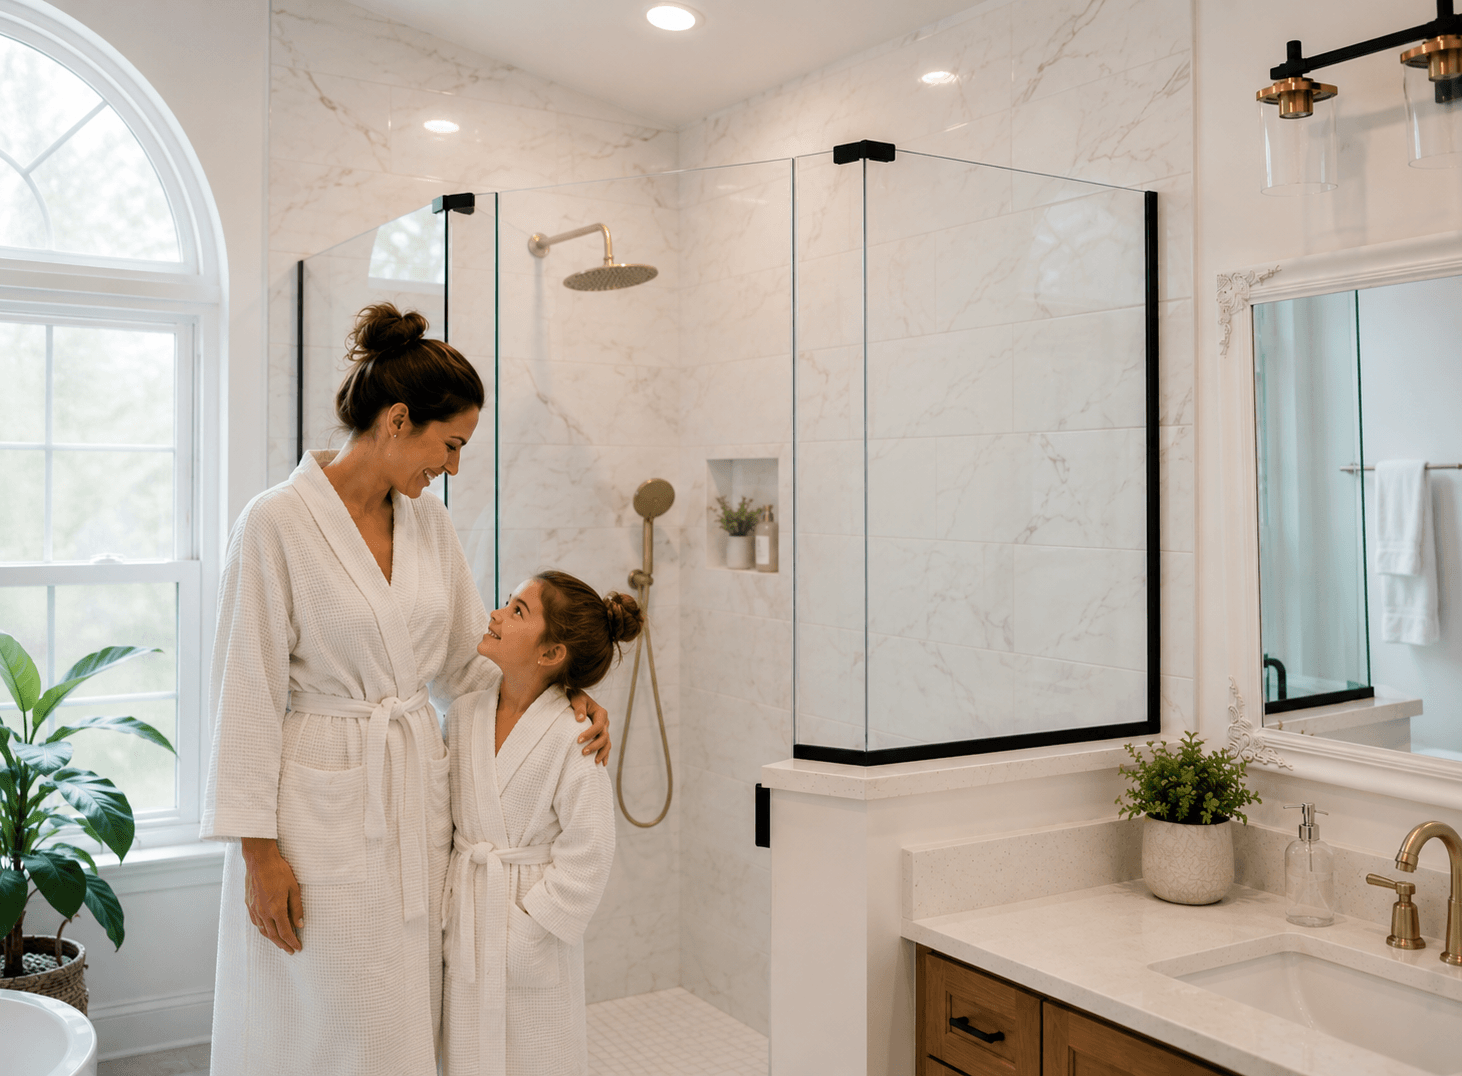
↑ Worth the Investment
- Vanity countertop: You see and touch it daily—go quartz or natural stone
- Shower valve: Quality thermostatic valves prevent temperature swings and last decades
- Primary lighting: Invest in statement fixtures over the vanity and in the shower
- Vanity faucet: Mid-to-high range delivers better feel and finish durability
- Tile at eye level: Splurge on the shower accent wall—save on floor and lower walls
- Glass enclosure: Frameless costs more but transforms the entire aesthetic
- Built-in storage: Quality construction here prevents sagging shelves and water damage
↓ Smart Savings Areas
- Floor tile: Quality porcelain at $3–$5/sf looks identical to $12/sf options
- Toilet: $200–$400 models flush as well as $1,200 designer versions
- Medicine cabinet: Recessed builder-grade functions identically to luxury brands
- Shower base: Acrylic bases perform excellently and cost 60% less than tile pans
- Decorative tile: Use sparingly as accent only—save by limiting coverage area
- Towel bars & hooks: Mid-range matched sets look identical to luxury lines
- Mirror: Frameless from glass shops cost half of retail “designer” mirrors
The 70/30 Allocation Strategy
Allocate 70% of your material budget to visible hero elements—the vanity, countertop, shower tile, fixtures, and lighting. These create the first impression and ongoing daily experience. Spend the remaining 30% on everything else—flooring, hardware, accessories, paint, and functional fixtures like the toilet and fan.
This flips the typical approach where homeowners spread budget evenly across all elements. Even distribution creates consistently average results. Strategic concentration creates standout moments that define the space’s perceived value.
Real-World Example: On a $15,000 material budget, invest $3,500 in a quality vanity with quartz top, $2,500 in shower tile and glass, $2,000 in lighting and fixtures, $1,500 in hardware and accessories. Use the remaining $5,500 for flooring, paint, toilet, ventilation, and installation supplies. The splurge items command attention while supporting elements quietly do their job.
If you’re working within a specific budget for your Florida bathroom, exploring bathroom remodel costs and approaches specific to the region helps you understand realistic expectations and where to optimize spending.
Design Tricks That Elevate Any Budget
Beyond materials and fixtures, certain design principles make bathrooms feel more expensive regardless of actual investment. These cost little to nothing but require intentional planning and execution.
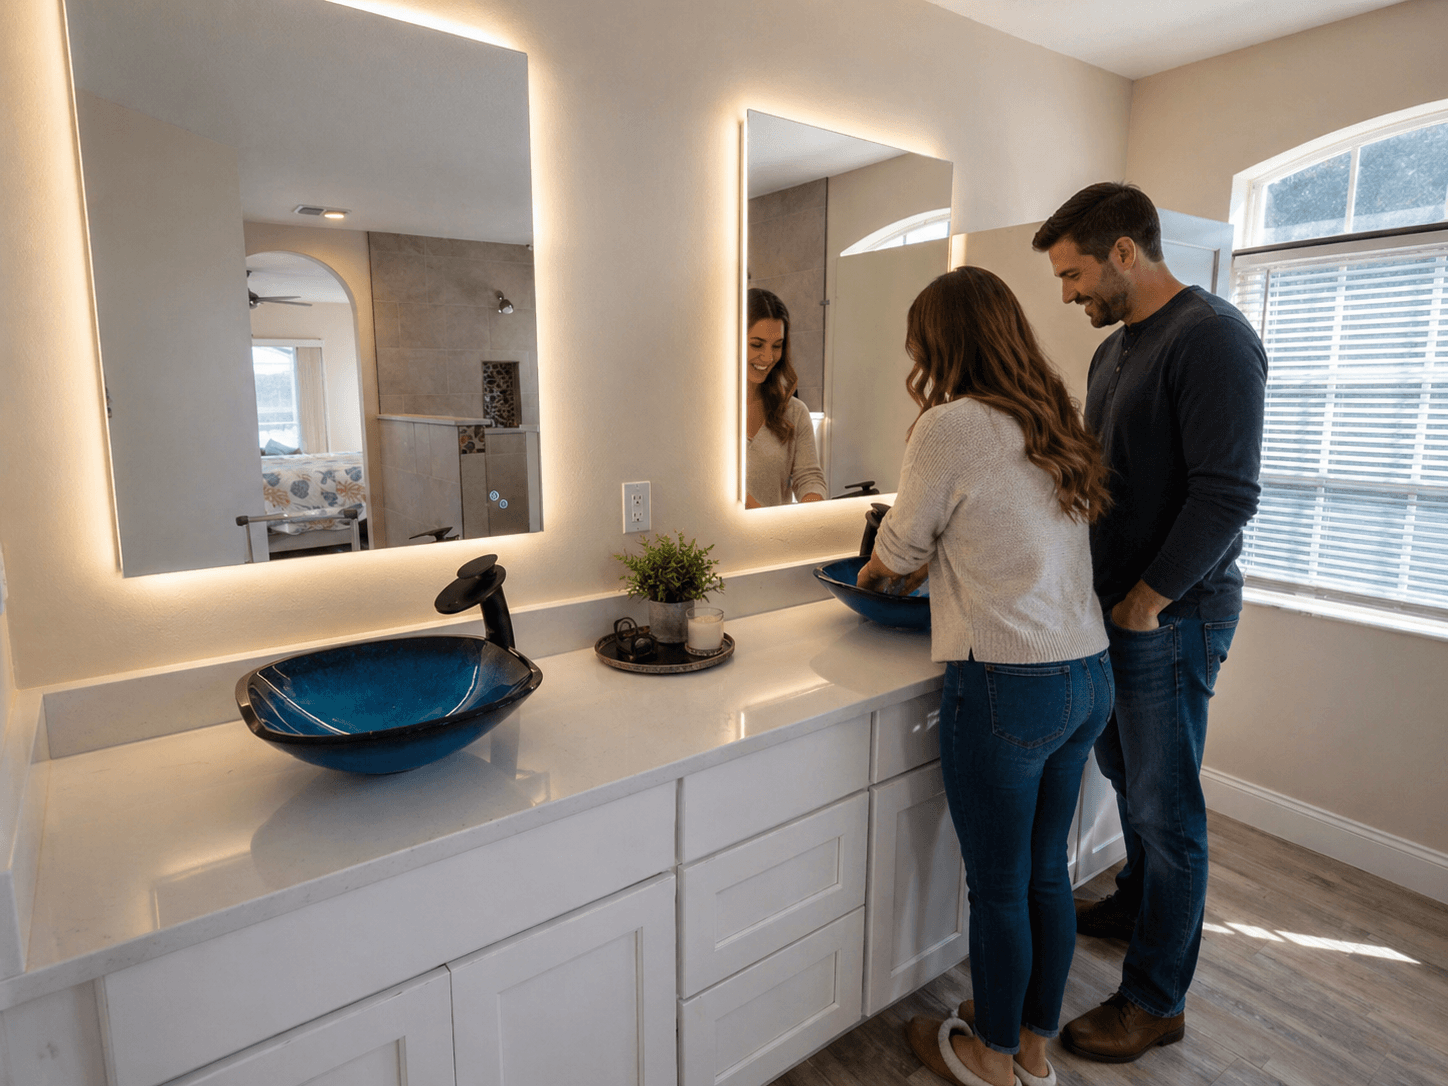
Continuous Tile from Floor to Ceiling
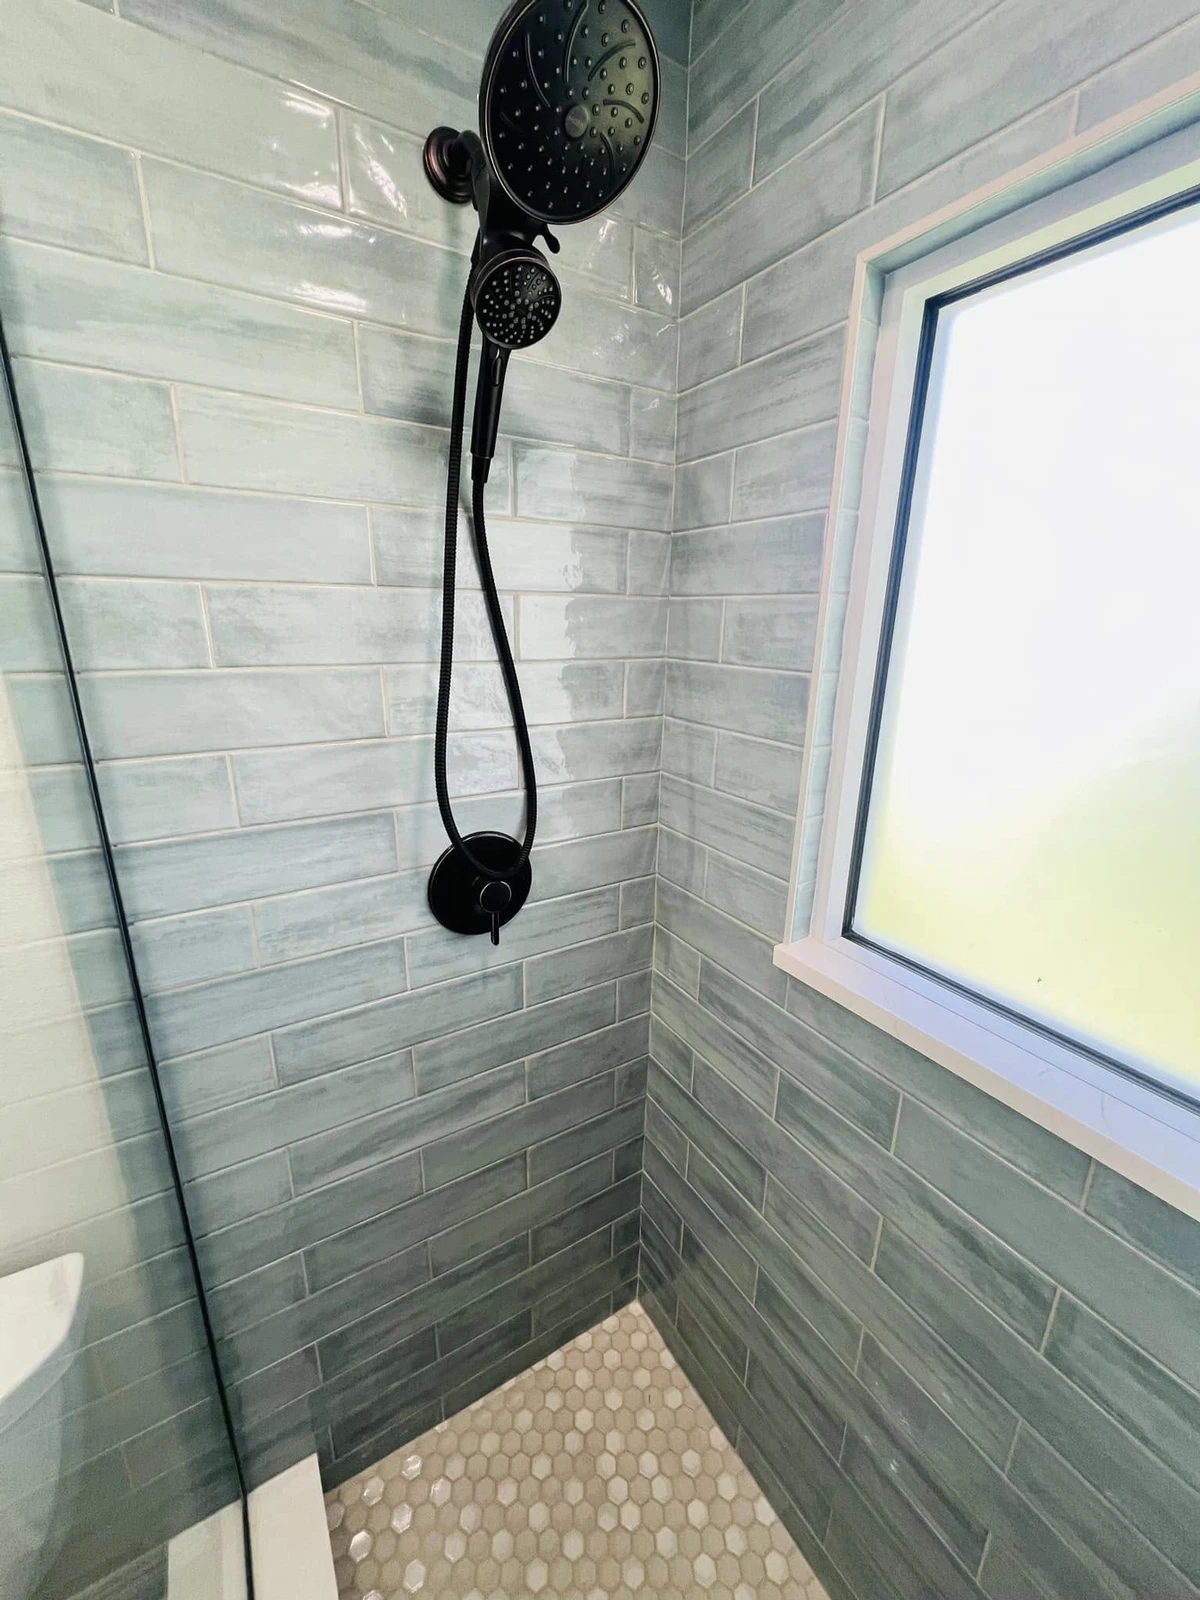
Running the same tile from floor up the walls to the ceiling eliminates visual breaks and makes spaces feel taller and more cohesive. This works especially well with large-format tile in neutral tones. The continuous surface reads as custom and intentional rather than segmented and budget-conscious.
Cost impact is minimal since you’re using one material throughout rather than mixing multiple tiles. Installation efficiency often offsets any material quantity increase. The visual payoff is substantial—the bathroom feels like a designed environment rather than assembled components.
Horizontal Tile Installation
Installing rectangular tile horizontally (brick pattern) rather than stacked vertically makes walls appear wider and rooms feel larger. This costs exactly the same but changes spatial perception significantly. It’s particularly effective with 12×24 tile or subway patterns.
Pair horizontal tile with vertical elements like tall mirrors or sconces to balance proportions. The horizontal emphasis grounds the space and creates visual flow rather than emphasizing the room’s actual dimensions.
Niche and Recess Detailing
Built-in niches for shower storage, toilet paper, or decorative objects create architectural interest and eliminate surface clutter. Frame niches with contrasting tile or add LED strip lighting to enhance the custom feel. These details signal careful planning and professional execution.
Costs run $150–$400 per niche including tile finish, but the impact on perceived quality far exceeds the investment. They become functional art elements that differentiate your bathroom from standard builder approaches.
Monochromatic Color Schemes
Using variations of a single color creates sophisticated cohesion. Whites, grays, or earth tones in different textures and finishes add depth without visual chaos. Monochromatic doesn’t mean boring—it means intentional. Layer matte and glossy finishes, smooth and textured surfaces, light and dark values within your chosen color family.
This approach makes material mixing easier and more forgiving. A $4/sf tile looks more expensive when paired thoughtfully with complementary tones than a $12/sf tile used in a jarring color combination.
Symmetry and Balance
Center the vanity on the wall. Flank the mirror with matching sconces. Balance towel bars on either side of the vanity. Symmetrical layouts feel calmer, more intentional, and more expensive than off-center or randomly placed elements.
This principle costs nothing but requires planning during layout phase. Professional designers default to symmetry because human brains interpret it as order and quality. Even modest materials arranged symmetrically outperform premium materials placed haphazardly.
Design Pro Tip: Create a “wow moment” focal wall—often behind the vanity or in the shower. Use your best tile, most dramatic color, or architectural feature here. Let the rest of the room support this moment with simpler choices. One statement beats five competing elements trying for attention.
Minimize Transition Strips and Thresholds
Every visible transition strip or threshold breaks visual flow and emphasizes budget constraints. Use the same flooring throughout, run tile right to walls, and eliminate metal transitions wherever possible. Proper substrate preparation allows seamless transitions between rooms.
When thresholds are necessary, match them to flooring material and color rather than using standard aluminum or brass strips. The goal is continuous surfaces that make the bathroom feel like a designed space rather than a series of separate material choices.
Reviewing various bathroom remodel options reveals how different design approaches affect both aesthetics and budget allocation.
Real Budget Breakdowns for Affordable Luxury
Understanding how different budget levels translate into actual bathroom transformations helps set realistic expectations. These scenarios reflect Central Florida pricing and typical material choices at each tier.
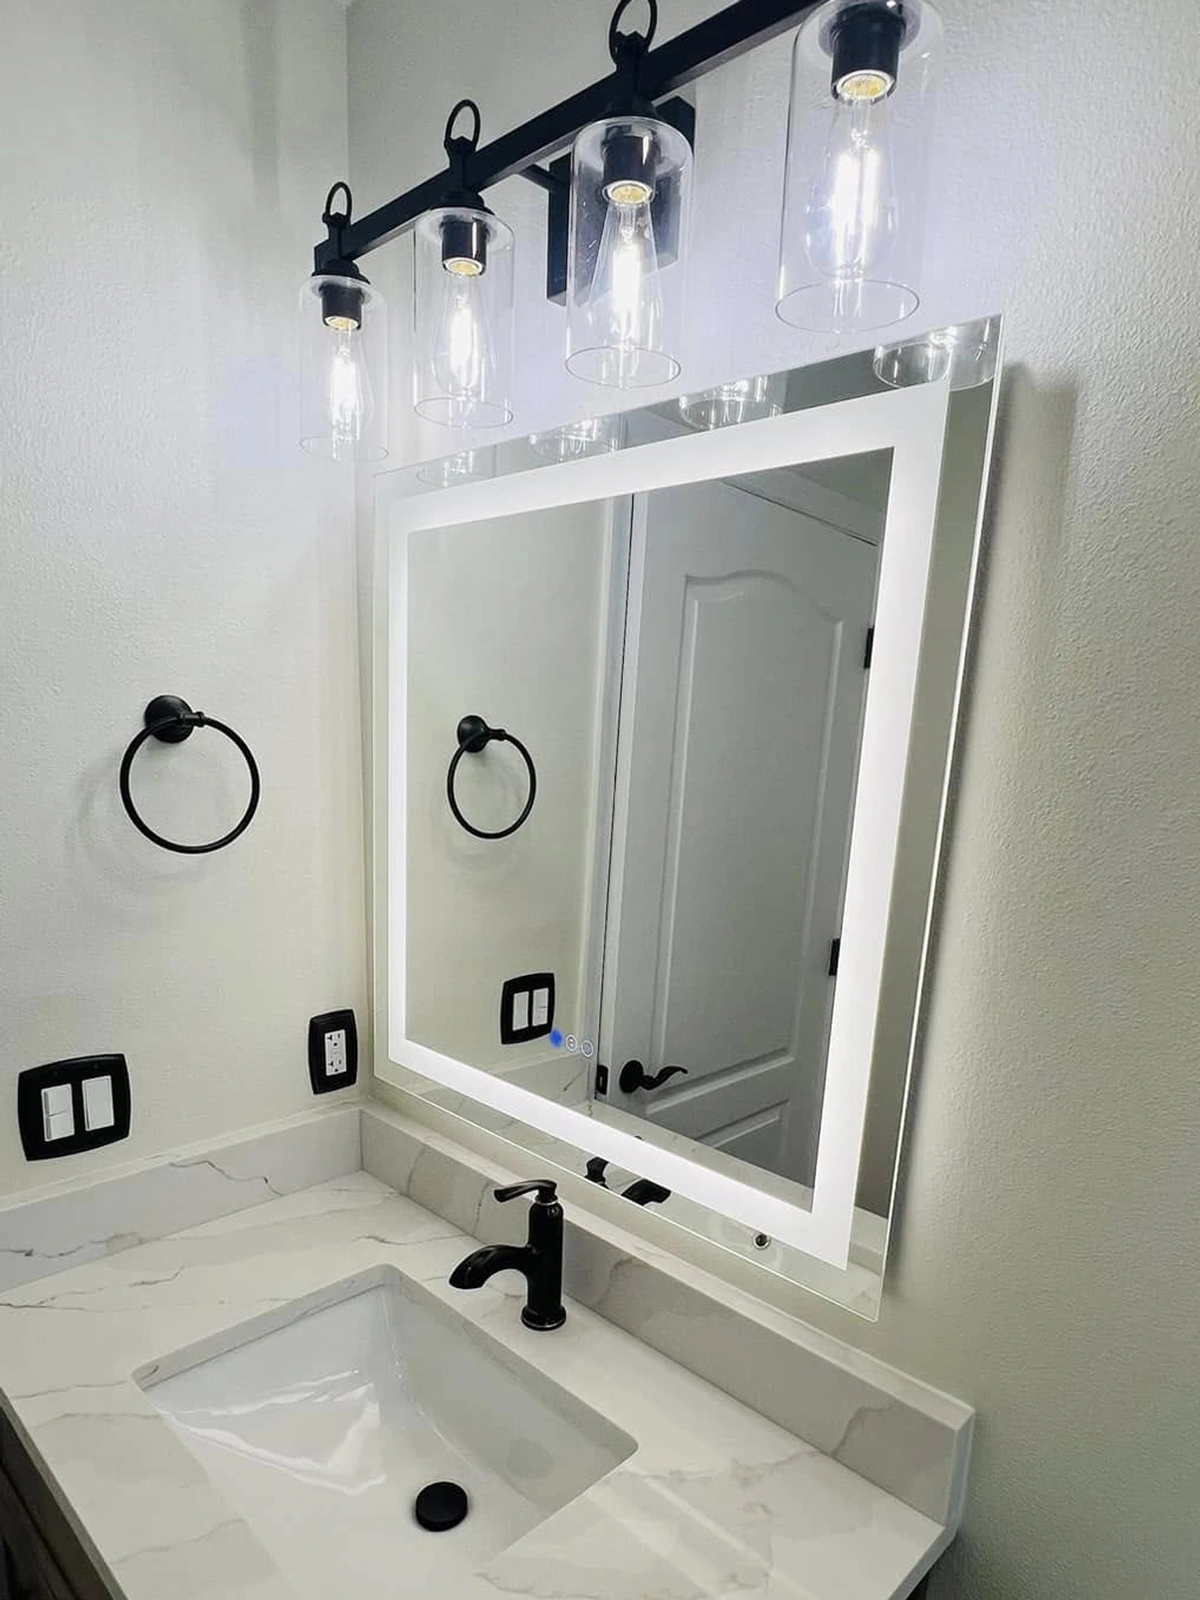
What Affects Cost Beyond Materials
Understanding cost drivers helps you make informed decisions about where to invest:
↑ What Pushes Cost Up
- Moving plumbing or electrical locations
- Custom tile patterns or complex layouts
- Multiple material types and transitions
- Structural changes or wall removal
- Premium natural stone throughout
- Custom cabinetry with special features
- Unexpected issues behind walls
↓ What Keeps Cost Down
- Keeping existing plumbing locations
- Simple tile patterns (straight set, brick)
- Consistent materials with limited variety
- Maintaining current layout and footprint
- Smart material substitutions
- Semi-custom cabinets vs. full custom
- Clear scope defined before demo begins
Budget Reality Check: Labor typically represents 40–50% of total remodel cost. Quality installation matters as much as quality materials—poor tile work ruins premium tile, while excellent installation elevates affordable options. Factor this into planning when comparing DIY versus professional execution.
For comprehensive guidance on planning your entire project, the complete bathroom remodeling guide walks through every decision point from initial concept to final walkthrough.
Frequently Asked Questions
Ready to Create Your Luxury Bathroom?
Let’s talk about your vision, your budget, and exactly how to maximize both. We’ll help you identify where to invest for biggest impact and where smart alternatives deliver the same luxury look.
Book Your Free ConsultationNo pressure. No pitch. Just honest guidance on creating the bathroom you want within the budget you have.
Call us at 352-431-0399 or visit our remodeling blog for more bathroom design insights.